Search  for anything...

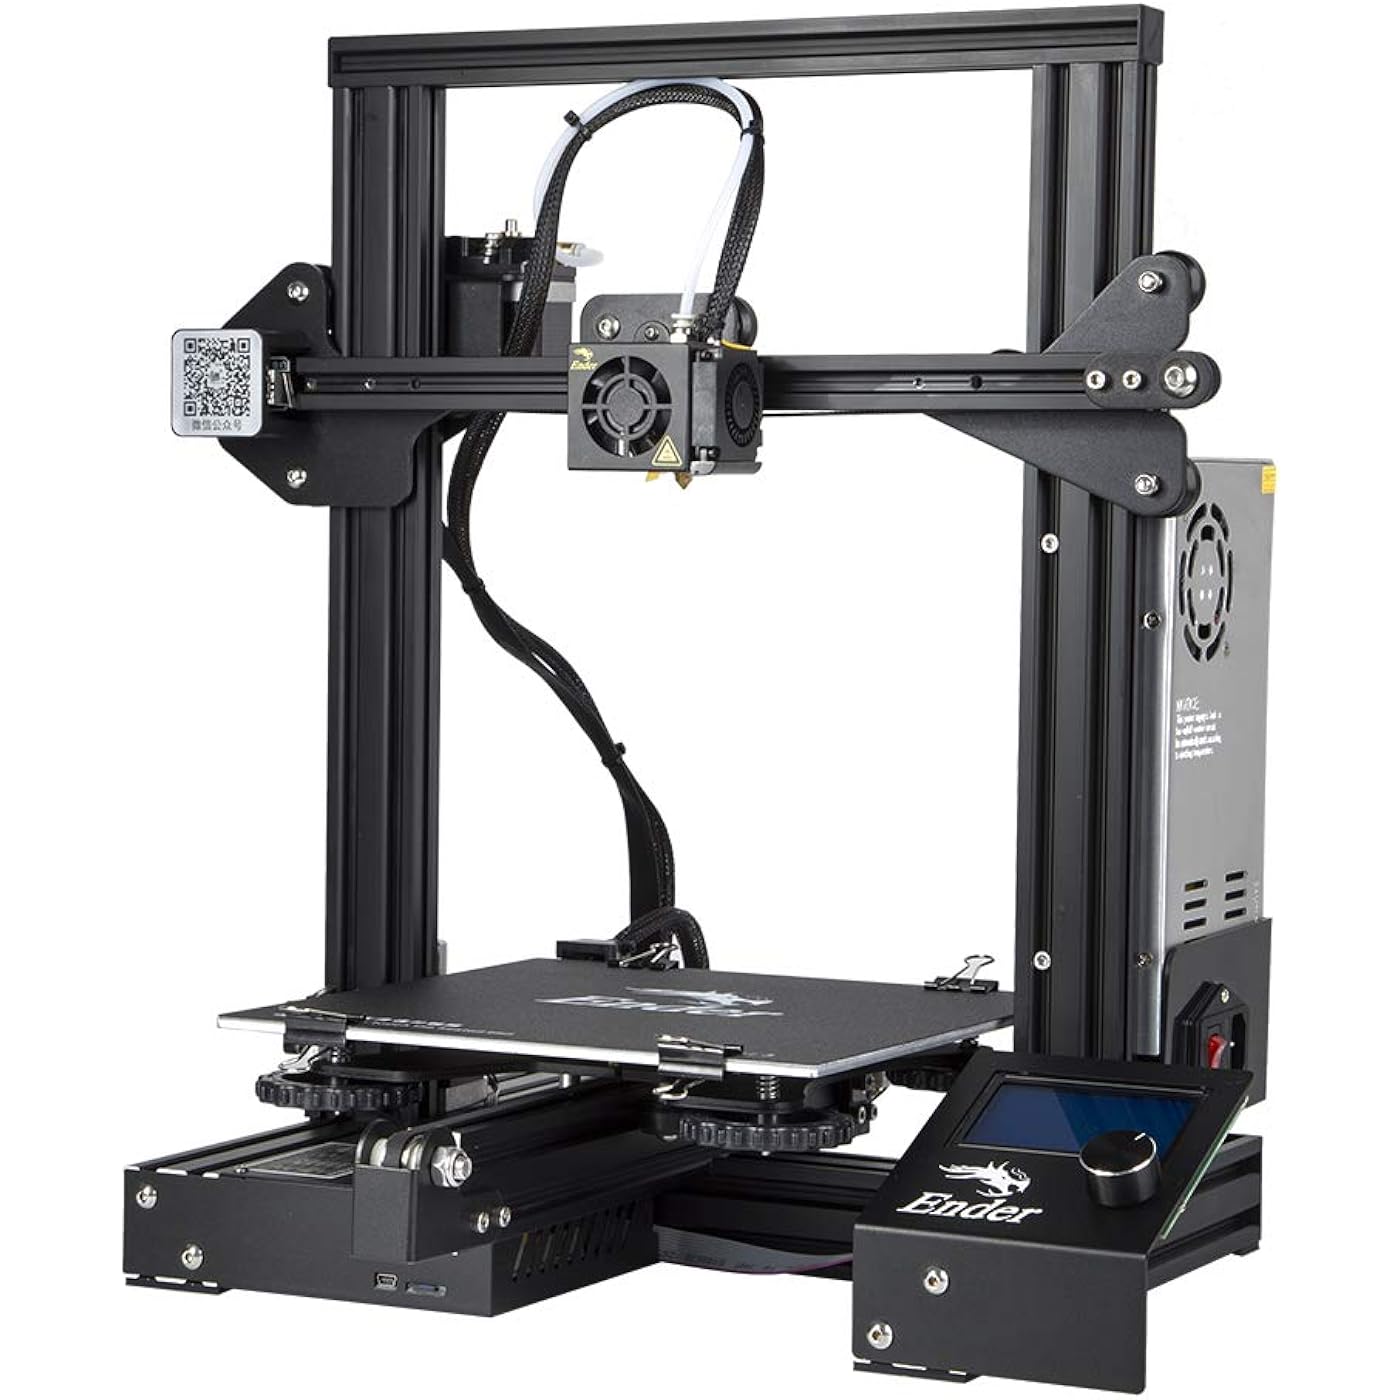
Official Creality Ender 3 3D Printer Fully Open Source with Resume Printing Function DIY Printers Build Volulme 8.66x8.66x9.84 inch

  • Based on 25,783 reviews
Condition: New
Checking for the best price...
$169.99 Why this price?
Save $9.01 was $179.00

Buy Now, Pay Later


As low as $28.33 / mo
  • – 6-month term
  • – No impact on credit to apply
  • – Instant approval decision
  • – Secure and straightforward checkout

Ready to go? Add this product to your cart and select a plan during checkout.

Payment plans are offered through our trusted finance partners Klarna, Affirm, Afterpay, Apple Pay, and PayTomorrow. No-credit-needed leasing options through Acima may also be available at checkout.

Learn more about financing & leasing here.

Selected Option

Free shipping on this product

FREE 30-day refund/replacement

To qualify for a full refund, items must be returned in their original, unused condition. If an item is returned in a used, damaged, or materially different state, you may be granted a partial refund.

To initiate a return, please visit our Returns Center.

View our full returns policy here.


Availability: Only 10 left in stock, order soon!
Fulfilled by Amazon

Arrives Friday, Mar 27
Order within 16 hours and 35 minutes
Available payment plans shown during checkout

Protection Plan Protect Your Purchase
Checking for protection plans...

Set name: Ender 3


Features

  • Resume Printing Function: no worry to the immediate power outage or electric circuit error, Ender 3 has the ability to resume printing even after a power outage or lapse occurs, you can continue to print
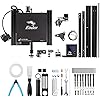
  • Creality Ender 3 3d printer, it is the most basic 3d printer model, more students and beginners can learn the 3d printer by this model, it can help to excercise your hands-on skills. It comes with several assembled parts, you need about 2 hours to assemble
  • Advanced Extruder Technology: Ender 3 upgraded extruder greatly reduces plugging risk and bad extrustion; V-shape with POM wheels make it move noiseless, smoothly and durable
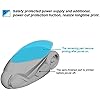
  • Safety Protected Power Supply: Only needs 5 minutes for hot bed to reach 100 degree. Note: This Ender 3 3d printer just can print via sd card, or connect with the computer, it cant print via connecting with your phone
  • Strict Test: Strict testing for key components before delivery and supports available. Kindly remind, to make sure the printer can power on normally without power off automatically, please check the side of the power supply and see whether the power supply voltage is 115V? You can have a look at the side of the power supply to confirm this point

Specs & Other Info

Specification Details
Brand Comgrow
Build Material High-quality Aluminum
Measurements 16.14"L x 16.54"W x 18.31"H
Weight Approximately 14.6 lbs
Compatible Devices Primarily Laptops and PCs
Current Manufacturing Status Still in Production
Model Number Ender 3
Product Release Date March 27, 2018
Manufacturer Creality 3D
Place of Manufacture China
Product Rankings #1,597 in Industrial & Scientific, #2 in 3D Printers
Customer Satisfaction Ratings Averaging 4.3 out of 5 stars from 14,341 reviews

Frequently asked questions

Fully Open Source means that all of the Ender 3's design files and software are publicly accessible. This allows for easy modifications and customizations of the printer. It also cultivates a community where users can share their improvements and learnings.

The Resume Printing Function allows the Ender 3 3D Printer to recover from power outages, disruptions or pauses without losing progress on the current print. It resumes the print from where it left off, saving time and reducing wasted materials.

The Ender 3 3D printer has a print size of 8.66x8.66x9.84 inches. This refers to the maximum dimensions of an object that the printer can print.

Yes, the Ender 3 3D Printer is designed for DIY. It comes as a kit that you assemble yourself, which gives you a great understanding and control of the mechanics of your 3D printer. It's a great choice for enthusiasts and makers who want to learn more about 3D printing.

Top Amazon Reviews

🚀 Abunda's Overview

This is our summary and key points to consider based on customer reviews.


The product is a 3D printer that is highly valued for its price and offers good quality prints. However, it seems to require significant adjustment and maintenance time, with some users suggesting multiple upgrades. Despite minor issues and a steep learning curve, reviewers found that the printer will yield great results once properly calibrated and adjusted.

Pros

  • 💰 Good value for money.
  • 👍 Everything bolts up and works as expected.
  • 🔧 Comes with spare parts.
  • 💻 Offers a good selection of software for handling STL files.
  • 😊 Results in high-quality prints.

Cons

  • 📚 Poor assembly instructions.
  • 💳 Uses a micro SD card, which is inconvenient to use frequently.
  • 👎 Some stock parts may need to be replaced.
  • 📏 Requires extra time for adjustments and calibrations.

Should I Buy It?

Yes, especially if you're a bit tech-savvy and don't mind putting in some time to fine-tune the setup. While it requires patience to learn its quirks, the end product seems to be worth the effort. Expect to spend some time on setup and adjustments, but once that’s complete it's a strong and reliable 3D printer.


  • Amazing printer!
Set name: Ender 3
The Ender 3 marked my entry into the 3D-printing world, and I love it! The 3D printer has been a godsend! If you're also newbie and searching for advice, here's my brief take on the Ender 3. It's awesome! The Ender 3 arrives in pieces that you must assemble. Since it is essentially a robot, assembly can seem overwhelming at first, but if you take it one step at a time, you'll be printing in no time. I found the printed instructions accompanying the unit to be more sizzle than steak, but, fortunately there are several videos on YouTube that make assembly a breeze. Believe it or not, assembling the unit yourself is beneficial because it familiarizes you with the device. It will allow you to easily make the minor adjustments that 3D printers often require. My wife and I have found that 3D printing comes with somewhat of a steep learning curve, but it's fun. YouTube and websites such as "all3DP dot com" have proven themselves to be life savers. The most common adjustments you'll make while 3D printing is "bed leveling." In truth, though, you're not actually "leveling" the print bed, but rather you're ensuring that the print nozzle is uniformly distanced from the bed (the print surface) on all its 4 corners. The nozzle needs to be super close, too. ...not about an inch or two away from the print bed, but rather it needs to be no further than the thickness of a piece of paper. Crazy, huh? When my wife and I printed a test file provided by Creality (the manufacturer), we frankly sat mesmerized at the unit's precision. It was like staring into a campfire and getting lost in the flames. The nozzle just zipped back and forth across the print bed leaving tiny bits of corn-based "plastic" one layer at a time, and eventually (over time) created a cat/dog thingy. In search of more things to print, we settled on two websites with tons of 3D-printable files that are very often free to download. The websites are "thingiverse dot com" and "cults3d dot com". The latter site takes longer to load, but seems to have more options. Creality has one too, but I haven't really checked it out yet. It's important to note that the files you download from such websites are *.stl files, whereas the Ender 3 needs *.gcode files. To make the file conversion, we downloaded a piece of software called Cura. It appears to be the best (free) software on the market for "slicing" 3D files into *.gcode files. That too has a steep learning curve, complete with complicated settings. But fortunately there are lots of tutorials online along with settings you can copy from experts. I mostly rely on "all3DP dot com" for that. After a while, we decided to invent our own designs and then print them into existence. In my opinion, the cat's meow -- the best and easiest 3D design application -- is Fusion360. It has a limited free version for students and schools, but otherwise it's quite pricey. My wife then found free, open-sourced design software called FreeCAD. We love it, and haven't turned back since. The filament we prefer is PLA. In our experience, PLA produces little to no fumes and it's guilt-free because it's corn-based and biodegradable. It should be noted, though, that not all PLA is created equally. This is primarily because (according to what I've read) pigments affect the PLA in different ways. So, when I order PLA from Amazon, I always look for the PLA with the most and highest reviews. Then, I refer upon their temperature recommendations. Overall, we absolutely love the Ender 3. At under $200, it's extremely affordable, and the process of printing things into existence can be (in my experience) somehow transformative. And if you find yourself confused about something, take my advice by not wasting time by trying to figure it out for yourself. Just refer to the experts on any of the websites I mentioned so, later on, you can focus on things that really matter...like design. Note: the bearing on a little fan went out. So, I reached out to Comgrow, they got back to me immediately, and now a new fan is on the way. No fuss no muss. Finally, at the risk of getting to personal, I'm a disabled veteran who benefits from focusing on tangible things. The process of 3D printing has proven itself to be such a godsend in that regard, that I think the VA should seriously explore ways of getting more vets 3D printing. I hope this helped newbies like me. Happy printing! ... show more
Reviewed in the United States on December 11, 2022 by Louie Cruz

  • Excellent introductory printer for The Tinkerer.
Set name: Ender 3 V3 SE
I am very happy with my Ender 3 V3 SE. It is my first 3D printer, having some experience with them in the past. This printer performed to an excellent standard and required very little setup out of the box. Unfortunately, the SE does not talk to the Creality Print software, and does not have WiFi or Ethernet network connectivity. Basic functionality is through physically moving an SD-card from your computer to the SD slot on the printer. It has a USB-C outlet that can be connected with a data cable to a computer and communicated serially with COM ports and the CH340 communications driver, it’s not complicated, but it’s not a straightforward process. After about 50 prints or so, the bearings on the Y axis optical rails came loose and resulted in a bed wobble that could register on the Richter scale. I upgraded the Y axis and X axis to linear guide rails, I do believe these upgrades are wholly necessary if you wish to print at the printers upper accelerations for any extended period of use. Changing filaments is a breeze with the direct drive extruder, I have printed in PLA, TPU, and PETG all with very good quality, adjusting settings along the way. If you enjoy tinkering, and learning how FDM printers work, how slicers and gcode work, and want a less expensive start to the hobby I would highly recommend the SE printer. I have also heard good things about its sister the KE. ... show more
Reviewed in the United States on January 27, 2026 by Mike Herzog

  • Great for an intermediate-skilled experience
Set name: Ender 3
The first few weeks with this printer were actually pretty rocky. I was having lots of printing failures and quirky problems. Many were due to user error and lack of experience, a few were made worse by poor usability design. Whoever designed this printer didn't really think through some things. This takes tweaking out of the box. With that said, I highly recommend this printer to someone who is looking for an amazing printer at a lower price, is good at troubleshooting prints, and is capable of problem solving and addressing some out of the box product issues. The cons list, while long, is all easily fixable. For the price you pay, these types of adjustments are completely worth it. Cons: -You must assemble yourself. This majorly increases the risk of breaking something or installing something wrong resulting in crazy printing problems. This also raises the risk of voiding your warranty. So, be really good at building things and able to fix your way out of mistakes - The out of the box filament holder/location is just flat out ridiculous. You'll need to print several additional parts if you want filament that doesn't interfere with your z-axis lead rod. -The frame is very prone to vibrations that affect the print. You'll need to print out feet to absorb the vibrations -The fan on the computer unit is in about the worst place imaginable. you'll need to print out a shield that redirects the airflow to avoid filament falling into the unit and the front left corner of the bed cooling off. -The wires were seemingly designed to get hung on the frame. you'll need to print several parts to slope the edges of the frame and do some cable management to avoid them getting hung on other parts. - The LCD screen has no backplate so you have a bare circuitboard exposed to whatever decides to bump into it. You'll need to print a backplate if you want to keep it protected. -The bed is so dad-gum hard to get level and keep that way. One tiny little nudge can throw the whole thing off. The springs are very weak and don't really hold in place for the first few weeks of use. You'll probably want to buy replacement springs or be VERY CAREFUL when interacting with the bed or anything remotely near the bed. -The x-axis belt is slightly too big, meaning that you're going to get ovals instead of circles out of the box. I used one of the included zip-ties to tighten the belt where it fits into the printhead notch and now it works fine. -the z-axis lead rod is crooked. IDK how to explain this or why it is this way, or how I fixed it but it is legit out of the box crooked. I think I blacked out while fixing it because I can't figure out how I straightened it out. Mine still has a slight slope when the arm is towards the bottom of the bed. IDK. Maybe I'll never understand. There are some parts you can print that are spacers for the unit, but keep in mind the frame acts as a heat sink so you'll need to add some raspberry pi heat sinks to the z motor to keep it from overheating. -this thing grounds by plugging in to the wall. That is fine and normal, but KEEP THIS IN MIND and make sure whatever you plug it into has a verified working ground. My surge protector was broken and the ground wasn't working. So I kept having massive crashes with the machine. Turns out static was building up during long prints and shorting out the machine. Yikes. Again though, this isn't the machine's fault. Just adding this in because it's pretty important to understand. -Cura doesn't have this printer listed in presets. You have to take the cura 10 settings and tweak them. There are lots of tutorials on youtube on how to get the best out of this printer so prepare to watch a lot of videos and have a lot of filament sacrificed to the test print gods. Pros: -price is like...wow. Amazing -the bed size is huge and really gives you room to create some awesome stuff -you can get some incredible quality prints off this puppy. Once I got mine in a good state I was astonished with the quality -can print at pretty high speeds and retain quality -it has print recovery that works surprisingly well in the case of a power interruption. -Is at it's core a very good little printer that is highly capable and reliable ONCE YOU ADDRESS THE ABOVE CONCERNS. If you're a beginner and you're looking for something easy to get started with, skip this and go with something like the monoprice mini v2. If you've been working with a beginner printer for a while and are starting to feel limited, and you're good at troubleshooting - I highly recommend this printer. It's worth it. ... show more
Reviewed in the United States on December 28, 2018 by Tarren A Hubbard

Can't find a product?

Find it on Amazon first, then paste the link below.
Checking for best price...